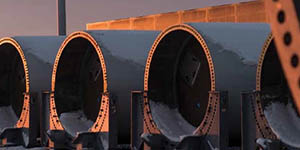
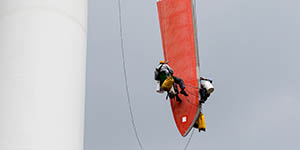
Recently there has been a significant increase in demand for larger bearings up to 1,200 mm in diameter for use in the construction of wind turbines, which promises exponential growth in the coming years as countries across the globe work toward meeting their green energy targets.
In addition to the wind energy sector, the Dudley, U.K., factory of The Timken Company supplies the engineered bearings it manufactures into a multitude of industries including mining, food and beverage, pulp and paper, cement, marine, and wastewater.
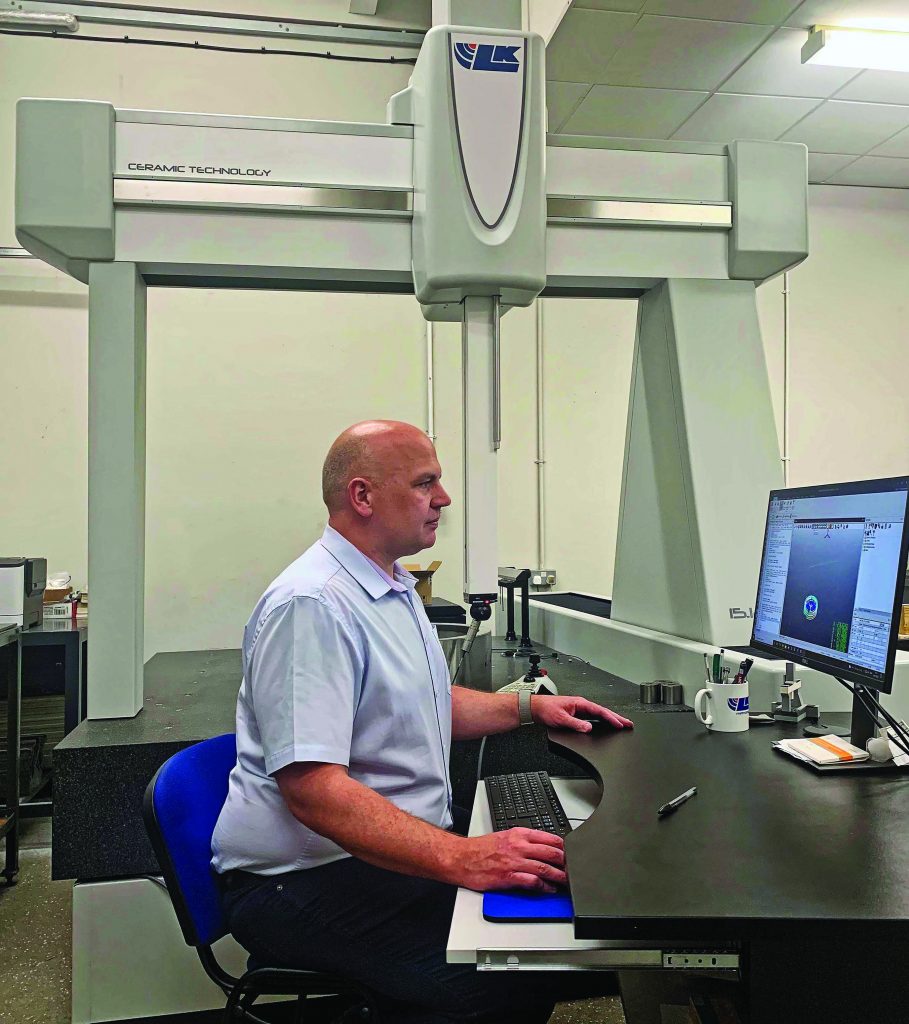
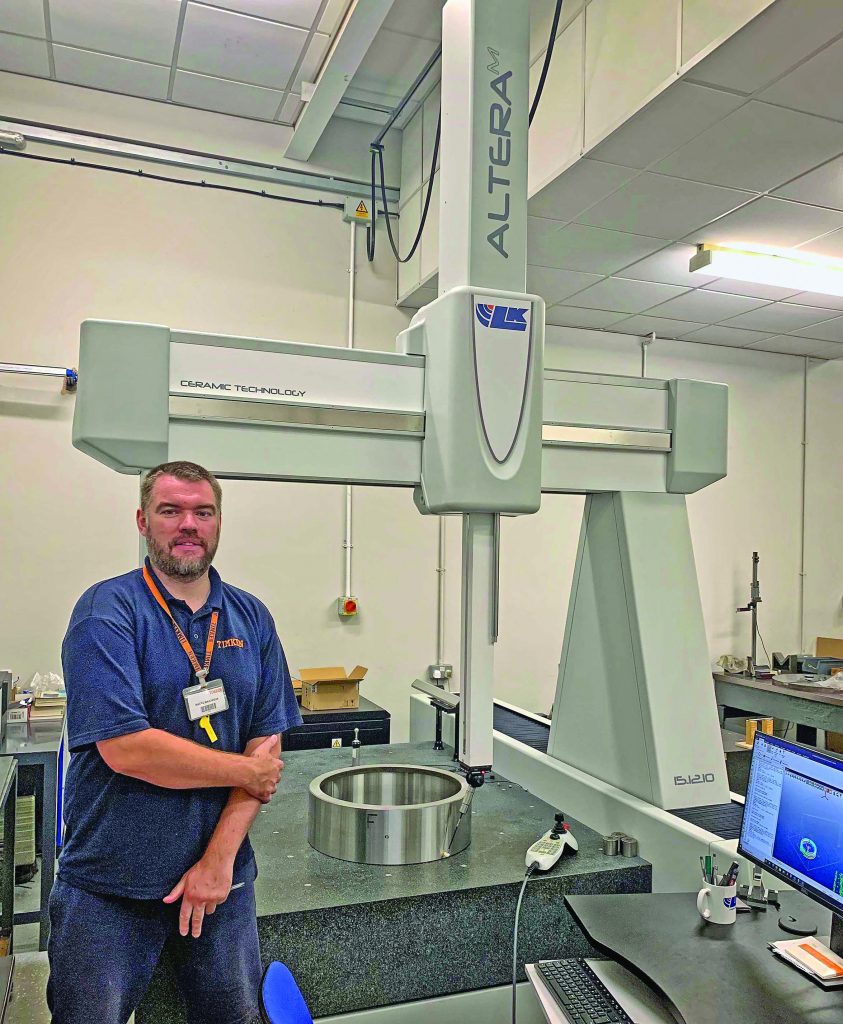
To enable the company to inspect these larger bearings needed for wind, Timken purchased an AlteraM 15.12.10 ceramic bridge coordinate measuring machine (CMM) with axis travels of 1,500 x 1,200 x 1,000 mm manufactured by LK Metrology Castle Donington. Assisting further in Timken’s quality control department is a Mitutoyo CMM capable of measuring ball and roller bearings with bores up to 800 mm in diameter. This machine was upgraded at the same time by LK with a new controller and identical CAMIO 2021 software for measurement, programming, analysis, and reporting, so inspectors are able to swap programs conveniently between both machines.
Checking Features
Dozens of high precision geometrical features need to be checked on each bearing to ensure that flatness, circularity, radial run-out, and track width meet specified tolerances, some of which are within ±6 µm. This is achieved quickly, repeatably, and automatically on the CMMs at Dudley in computer-controlled cycle times of about 10 minutes.
“We selected LK Metrology to provide the new inspection facility, as it was the only potential supplier to offer us a new, well-priced, high accuracy machine of the right capacity,” said William Hayes, quality improvement engineer at the Dudley factory. “The company was also proactive in offering to retrofit new control software to our Mitutoyo BN710 CMM, as we need two measuring machines to cope with our increasing production throughput.”
“Another point in LK’s favor was that its CMMs are installed in Timken plants in other parts of the world, including in the U.S., so the supplier was not an unknown quantity,” he said. “It would, in theory, be possible to exchange programs internationally, but, in practice, this is unlikely to happen as most of our other sites are mass production environments, whereas we specialize in producing small quantities of engineered bearings below 10-off.”
New Technology
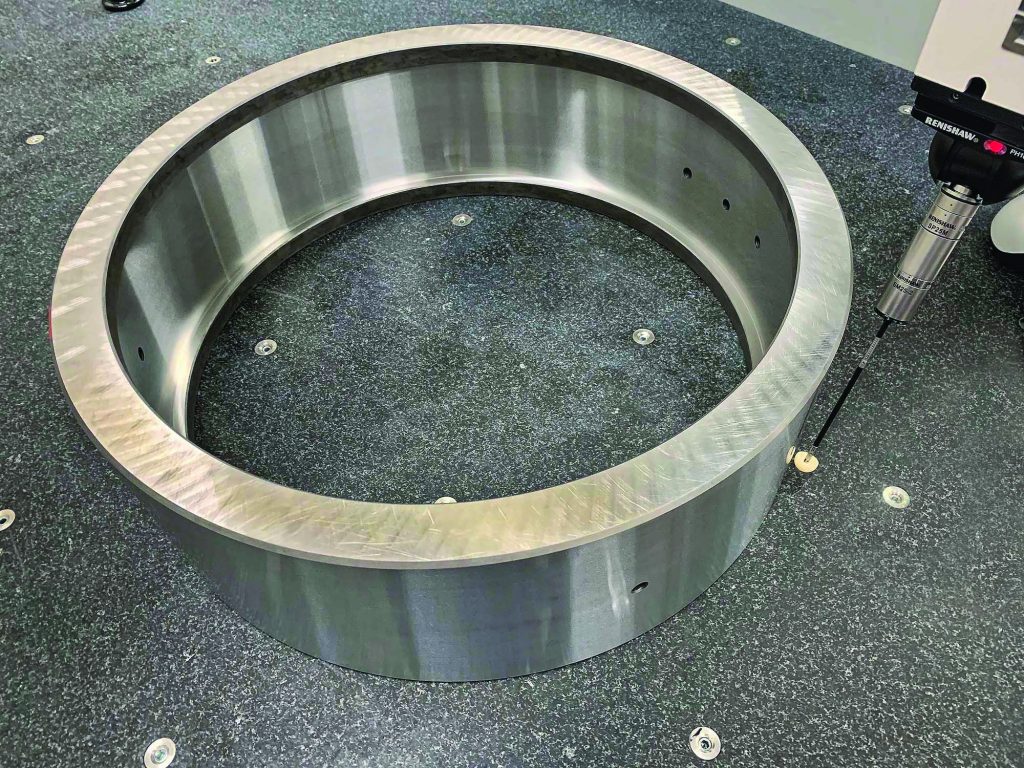
Hayes explained that LK also supplied new technology in the form of a Renishaw PH10MQ motorized tilt and rotate head and SP25M scanning probe with interchangeable styli. Together they are able to take measurements at important discrete points, as previously, or to scan large areas very quickly. For example, the system is able to scan a circle at 1.2 m/min, acquiring up to 1,000 measurement points every second as it does so. An additional benefit of the SP25M probe is the possibility to accurately measure with stylus lengths up to 400 mm, allowing awkward areas of a component to be reached, whereas there is a stylus length limit of 100 mm with traditional probes from Renishaw.
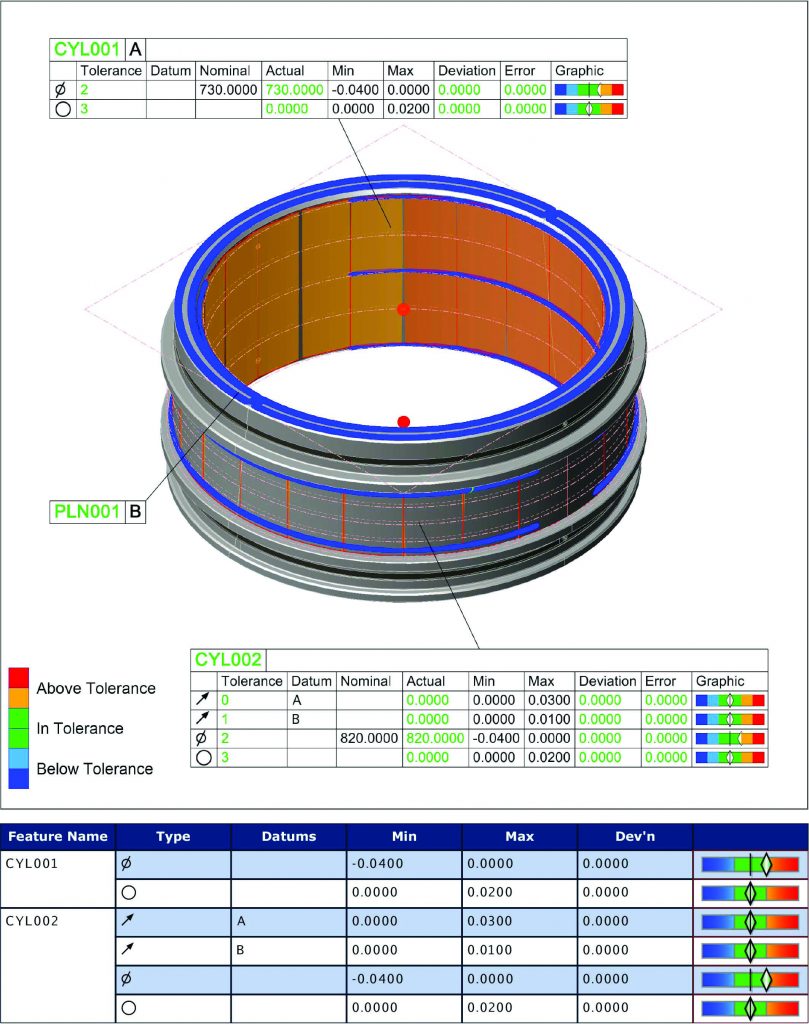
The change in functionality from touch trigger probing to scanning is fully programmable. In the case of Timken’s cycles there is approximately a 50:50 split between the two modes of operation. They are performed by the SP25M probe, as there are two sensors built into the single housing, so there is no need for probe exchange. The wealth of data obtained is able to provide a very accurate report concerning deviations in size, position, profile, and form that can affect bearing performance. Higher speed inspection also enables metrology to provide prompt feedback for adjusting production processes.
Quick Training
Within 10 days of the new CMM installation at Dudley and the simultaneous upgrading of the smaller machine, two of Timken’s six inspectors had already undergone training by LK Metrology engineers and were checking bearings on both CMMs. The latest version of LK’s CAMIO 2021 software has the advantage of helping to increase inspection productivity, enhance the quality of data collected and gain better insight into the components being measured. New inspection programs are prepared quickly by automatically detecting which surfaces of the CAD model should be used to measure a feature. Improvements have also been made to the programming workflow by extending the advanced picking function to touch points and scan paths on a CAD model and to indicate the selection of existing measured features.
About The Timken Company
The Timken Company designs a growing portfolio of engineered bearings and power transmission products. With more than a century of knowledge and innovation, it continuously improves the reliability and efficiency of machinery and equipment to move the world forward. Timken posted $3.5 billion in sales in 2020 and employs more than 17,000 people globally, operating from 42 countries. Timken is recognized among America’s Most Responsible Companies by Newsweek, the World’s Most Ethical Companies® by Ethisphere and America’s Best Employers by Forbes.
About LK Metrology
LK Metrology is renowned for innovative metrology solutions and services. The company’s products, including coordinate measuring machines (CMM), portable measuring arms, and metrology software, are used worldwide to control and improve the quality of manufactured components. Its precision technology underpins the process chain from design, development, production and assembly through to quality assurance in global industries such as automotive, aerospace, defense, motorsport, energy, medical, and contract inspection.
Established in England in 1963, LK Metrology has an impressive heritage in metrology dating back to the birth of CMM technology. Founded by CMM pioneer Norman Key and his father-in-law Jim Lowther, LK Metrology is credited with many of the CMM industry’s firsts including the first bridge-type design, first OEM to integrate computers, first to use a touch trigger probe, first to develop inspection software, first to use all air bearings and granite guideways, first to use carbon fibre composite spindles, first to use microprocessor-controlled drive systems, first to produce a truly thermally stable CMM and first to produce a high-accuracy horizontal-spindle CMM.
In 2018, LK Metrology was relaunched as an independent CMM manufacturer after several years as a division of Nikon Metrology. Headquartered in the UK, LK’s CMM development and production are at the company’s facility in Castle Donington. Sales and support offices are located in the UK, North America, Belgium, France, Germany, Italy, and China, supplemented by a worldwide distributor network.


